

You finally have a logo you love, a product idea in mind, and a budget to make it happen. So you head online to order promotional products with your logo, and suddenly you are facing questions you did not expect: What file type do you need? What is a minimum order quantity? Why does embroidery cost more than printing? If any of this sounds familiar, you are not alone.
The truth is, most promotional product orders that go wrong do not fail at the factory. They fail before the order is even placed. A wrong file format, a mismatched decoration method, or a misunderstanding about product quality can turn an exciting project into an expensive reprint and a missed deadline.
This guide is designed to change that. Whether you are ordering branded merchandise for the first time or trying to avoid the mistakes you made last time, you will walk away knowing exactly what decisions to make and why they matter. From artwork formats and decoration methods to quality tiers, order minimums, and pre-purchase checklists, consider this your complete preparation guide before you spend a single dollar.
Why Logo’d Promotional Orders Go Wrong Before They Even Start
Four interconnected choices determine whether a logo’d order comes back looking sharp or ends up as an expensive lesson: artwork file format, decoration method, product quality tier, and order minimums. Each one affects the others. A misstep in one area creates a chain reaction across the rest.
A common example: a buyer submits a low-resolution raster logo for embroidery. That single file choice triggers an artwork conversion fee, pushes back the production timeline, and in some cases forces a reorder when the digitized result doesn’t match expectations. What started as a simple oversight becomes a cost and schedule problem that could have been avoided before the quote was ever sent.
The goal here isn’t to turn you into a print technician. You don’t need to know how to build a vector file or digitize a logo for a stitch count. What matters is knowing which questions to ask, what information to have ready, and what to look for in a promotional products supplier you can rely on. The sections below address each of these four areas in turn.
Artwork File Formats: Why the Wrong File Costs You Time and Money
Of all the pre-purchase decisions covered in this guide, artwork format creates the most preventable problems.
Vector files (EPS, AI, SVG) scale to any size without quality loss because the image data is resolution-independent. Raster files (PNG, JPG, TIFF) are grids of fixed pixels. Enlarge a raster logo enough and it loses clarity, the same way a photograph degrades when blown up beyond its original resolution.
A quick note on PDFs: the extension tells you nothing useful. A PDF can contain vector or raster content depending on how it was created. A PDF from a Word document behaves very differently from one exported out of Adobe Illustrator. When in doubt, ask where it originated.
Print-ready means more than having a file. It means:
- Sufficient resolution, ask your supplier for their minimum dpi requirement, as specifications vary by decoration method and substrate.
- Color mode appropriate to the production method, commonly CMYK for full-color printing and PMS (Pantone) numbers for spot-color work; confirm with your supplier.
- No embedded fonts that could substitute during production
- A clean background, typically transparent or white, with no unintended artifacts
Submitting the wrong file starts a chain reaction: the supplier flags the issue, revision fees are assessed, production pauses, and your timeline compresses. A rushed fix can still produce a logo that looks soft or off-color on the finished item.
An experienced promotional products supplier can often convert existing brand assets into production-ready files without a full design engagement. If your original vector source file is available, conversion is straightforward. If only a low-resolution raster exists and no source file can be located, a designer will need to rebuild the logo from scratch.
Decoration Methods Explained: Screen Printing, Embroidery, and Beyond
Once your file is in the right format, the next decision is how the logo gets applied. The method matters more than most buyers expect.
The most common decoration methods in the industry include the following, confirm specifics with your supplier, as capabilities and costs vary:
- Screen printing: Ink pushed through a stenciled mesh screen; ideal for flat surfaces like t-shirts, tote bags, and water bottles
- Embroidery: Thread stitched directly into fabric; standard for apparel, hats, and bags where a premium, tactile look is the goal
- Pad printing: A silicone pad transfers ink onto curved or irregular surfaces; common on pens, golf balls, and small hard goods
- Laser engraving: A laser removes surface material to expose the substrate beneath; produces permanent, wear-resistant marks on metal, wood, and leather
- Direct-to-garment (DTG): Inkjet technology prints directly onto fabric; suited for short runs and complex artwork
- Full-color digital printing: Applies detailed, multi-color graphics to flat substrates like drinkware wraps, labels, and name badges
Your logo design shapes which methods will work. Embroidery handles bold, solid shapes well but struggles with fine lines and gradients. DTG handles photographic images and color gradients that screen printing cannot reproduce cleanly. A logo built for the logo design process with promotional applications in mind will translate more reliably across methods.
Cost and durability vary significantly. Screen printing involves a per-color setup fee but lower cost per unit at volume; screen-printed items are often considered more durable than digitally printed versions under abrasion, though outcomes depend on substrate and ink quality. Embroidery typically requires a one-time digitizing fee and is valued for its durability. DTG requires no setup plates but costs more per unit on large runs.
On four-color process printing: it combines cyan, magenta, yellow, and black (CMYK) to reproduce a broad color range, which is why it works for photographs but adds cost compared to spot color printing, where each color is a single precisely matched ink.
Start with the item and its intended use, then select the decoration method that fits. A supplier consulted early can align method, product, and artwork before production.
Product Quality Tiers: Not Every Pen or Tote Bag Is the Same
Choosing the right decoration method matters, but it only works if the product underneath it is suited for the job. Promotional products span a wide quality spectrum, and price per unit alone does not tell you whether an item is right for its intended use.
The three general tiers break down like this:
- Economy items are built for volume. Think inexpensive pens, basic lanyards, or lightweight tote bags distributed at trade shows or community events. The goal is reach, not longevity, and that is perfectly appropriate for the context.
- Mid-tier items step up in materials and finish. A well-constructed insulated tumbler or a quality notebook makes a better impression for employee recognition, new hire kits, or client thank-you gifts than a budget alternative would.
- Premium items are for relationships that warrant the investment. Leather portfolios, brand-name outerwear, and high-end tech accessories work well for executive gifting, donor cultivation, or long-term client programs where the product itself signals the level of the relationship.
Quality tier also affects logo reproduction. A low-cost item paired with a complex imprint method often produces a worse result than a mid-tier item decorated with a simpler technique. The substrate and the decoration method have to work together.
On sourcing: brand-name products decorated with your logo (think well-known apparel or drinkware brands) carry built-in perceived value that house-brand items do not. When recipients recognize the product, that recognition transfers to your brand. House-brand items make more sense in high-volume, cost-sensitive situations where recognition is less important than distribution scale.
A trade show attendee, a new hire, a loyal customer, and a government partner each bring different expectations. Choose giveaways people will keep by matching the product tier to the recipient, not just the budget line.
Order Minimums: What They Are, Why They Exist, and How to Work Around Them
Once you’ve settled on the right product and quality tier, the next variable that catches buyers off guard is the order minimum.
Most promotional items carry a manufacturer-set minimum quantity, common thresholds range from a few dozen to several hundred units depending on the product and supplier. These thresholds exist because setup, tooling, and decoration have fixed costs that only make economic sense spread across a baseline quantity. A screen printer calibrating ink colors and aligning screens for 12 pens costs nearly the same as doing it for 250.
What happens if you need fewer units?
Ordering below the minimum is usually possible, but it triggers a less-than-minimum (LTM) fee spread across a smaller quantity, pushing your true cost per unit well above the published price. A product listed at a low per-unit price may effectively cost significantly more once an LTM charge is factored in across a smaller quantity, always request a per-unit breakdown that includes all fees before comparing options.
Not every supplier works from the same minimums. Suppliers with broad national networks and collective buying power can often access lower or no-minimum options on certain categories, which matters when your need is a small pilot run or a specialty item.
Splitting a 500-unit order creates its own complications. Dividing that quantity across different sizes, colors, or decoration methods means each variant may be treated as a separate order with its own minimum and setup fee. What looked like one purchase can become four separate minimums with four setup charges.
For large orders distributed across multiple locations or over several months, discussing storage, phased shipping, and fulfillment logistics upfront prevents inventory headaches later. Organizations managing recurring distributions often find that a managed program rather than a series of one-off orders reduces both administrative burden and per-unit cost over time.
When to Use a Designer Before You Order Custom Printed Promotional Products
Even after you’ve sorted file formats, decoration methods, and minimums, one question remains: does your artwork need a designer before you order?

Three situations make professional design involvement worth the cost. First, if your only logo file is a raster image, a JPG or PNG with no original vector source, someone needs to redraw it in a scalable format before production. Second, if the product requires a logo version that doesn’t yet exist, a horizontal lockup, stacked version, or icon-only mark, that artwork needs to be created before the order moves forward. Third, if the campaign calls for a custom graphic beyond your standard logo, that’s work for a designer, not a file conversion.
It’s worth distinguishing between those two things. A full design engagement covers creating or significantly modifying brand assets. A file conversion or artwork preparation service is narrower: cleaning up a logo, converting raster to vector, or adjusting a file for a specific decoration method. Many promotional products suppliers, including OneStop Northwest, handle the latter in-house at modest or no cost. If you’re uncertain which applies, the Frequently Asked Questions about Logo Design covers common scenarios in plain terms.
PMS colors deserve specific attention. The Pantone Matching System assigns each shade a number so your exact brand color reproduces consistently across suppliers, substrates, and decoration methods. Without identified PMS colors, a supplier will match visually as closely as possible, and on large orders across multiple products, that introduces visible inconsistency. For organizations with formal brand standards, guessing on color is a real risk.
A reliable supplier flags these issues before production begins, not after. That pre-production review protects your budget and your brand.
A Practical Pre-Purchase Checklist for Your First Large Logo Order
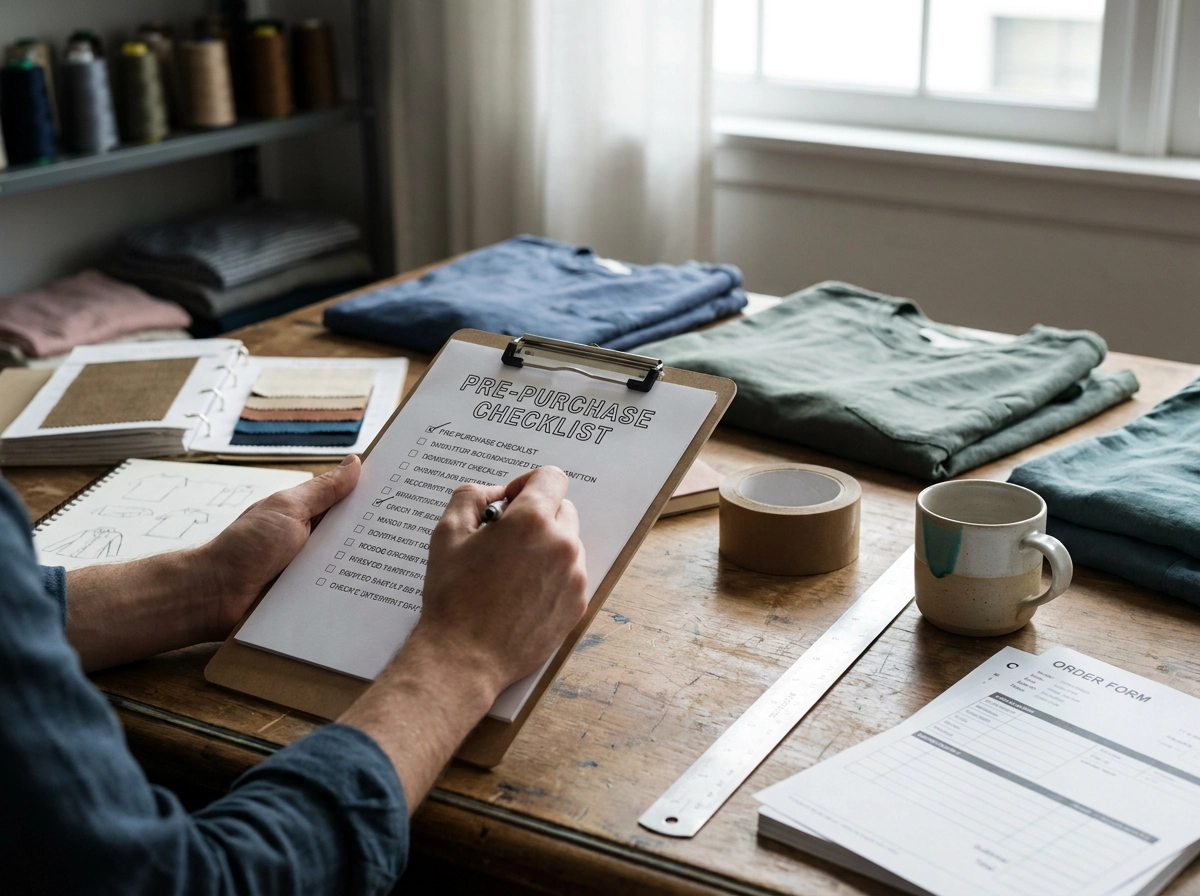
With the design and color decisions behind you, the final step before requesting a quote is confirming you have everything a supplier needs to move quickly and accurately.
Before you contact a supplier, verify each of the following:
- Vector logo file available (EPS, AI, or SVG format)
- PMS colors identified for each logo color
- Decoration method preference noted, or flexibility confirmed
- Quantity finalized and checked against product minimums
- Timeline documented, including hard deadlines such as an event date or a new hire onboarding cohort
For organizations ordering at scale or across departments, add:
- Brand usage guidelines shared with the supplier
- Ship-to logistics confirmed: single location or multiple distribution points
- Internal approval contact identified for proof sign-off
Providing this information upfront compresses the quote-to-production timeline significantly. When a supplier receives complete, accurate details, there are fewer back-and-forth clarification rounds and far less risk of a revision surfacing after production has started.
Organizations with recurring needs, whether quarterly onboarding kits, seasonal campaigns, or standing inventory for multiple locations, benefit most from formalizing this process. A managed supplier program standardizes approved products, pre-approved artwork files, and ordering workflows so each new order doesn’t restart from scratch. If designing your own logo or updating existing brand assets is part of your roadmap, getting those files production-ready once protects every future order.
At OneStop Northwest, pre-purchase consultation is built into the process. Clients have access to a broad supplier network, in-house design support, and fulfillment options through a single relationship, so preparation and execution happen together rather than in separate conversations.
The Right Preparation Makes the Difference on Every Order
The checklist in the previous section captures what to do. This closing section explains why it matters every time you order.
These four decisions interact in ways that catch unprepared buyers off guard: a logo file that works for screen printing may fail for embroidery. A quality tier that suits a trade show giveaway may underdeliver for an executive gift. An order quantity that looks straightforward can create unexpected setup costs when split across variants. Understanding how these four areas interact is what separates a smooth order from an expensive correction.
That said, the most reliable safeguard against the mistakes covered in this guide is working with a promotional products supplier that surfaces these questions before production begins, not after a proof reveals a problem. Proactive review of artwork, minimums, and product fit is not a premium service; it is how a knowledgeable partner operates.
If you are preparing for a large order or building a recurring merchandise program, OneStop Northwest welcomes a pre-purchase conversation. Bring your artwork, your quantity, your timeline, and your questions. Whether this is your first run of 500 branded items or the start of an ongoing branded merchandise program, the preparation principles covered here apply every single time.
Conclusion
Ordering promotional products with your logo does not have to be a process filled with costly surprises. The buyers who get it right consistently share a few common habits: they prepare proper artwork files before contacting a supplier, they understand which decoration method suits their product and budget, they select a quality tier that matches the item’s purpose, and they plan order quantities with minimums in mind from the start.
The good news is that preparation is entirely within your control. Review your files, ask your supplier specific questions early, and choose a partner who raises potential issues before production begins, not after.
Your brand shows up on every item you distribute. Make sure it shows up well. Start your next order prepared, and the results will reflect that investment.
Frequently Asked Questions
What is the difference between vector and raster file formats for promotional product logos?
Vector files (EPS, AI, SVG) use resolution-independent image data that scales to any size without quality loss, making them ideal for promotional products. Raster files (PNG, JPG, TIFF) are grids of fixed pixels that lose clarity when enlarged, similar to how photographs degrade when blown up. Vector files are the preferred format for promotional product orders because they maintain sharp reproduction across different decoration methods and sizes.
Why does embroidery cost more than screen printing for promotional products?
While screen printing involves a per-color setup fee but offers lower costs per unit at volume, embroidery requires a one-time digitizing fee to convert your logo into stitch data. Additionally, embroidery is valued for its premium, tactile appearance and superior durability compared to other methods. The digitizing process and labor-intensive nature of stitching each item contribute to the higher per-unit cost, though the final product often justifies the investment through perceived quality and longevity.
What does 'print-ready' really mean when submitting artwork for promotional products?
Print-ready means more than just having a file. It requires: sufficient resolution (ask your supplier for their minimum dpi requirement as it varies by decoration method), appropriate color mode (typically CMYK for full-color printing or PMS Pantone numbers for spot-color work), no embedded fonts that could substitute during production, and a clean background (usually transparent or white with no unintended artifacts). Meeting all these requirements prevents costly revision fees, production delays, and quality issues that can result from incomplete artwork preparation.
How do order minimums work, and what happens if I need fewer units than the minimum?
Most promotional items have manufacturer-set minimum quantities because setup, tooling, and decoration have fixed costs that only make economic sense across a baseline volume. If you order below the minimum, a less-than-minimum (LTM) fee is typically applied and spread across your smaller quantity, significantly raising your true per-unit cost. Always request a complete per-unit breakdown including all fees before comparing options. Some suppliers with broader networks can access lower or no-minimum options on certain categories, which helps with pilot runs or specialty items.
What is the ideal quality tier for different types of promotional product recipients?
Choose the quality tier based on the recipient and purpose: Economy items (inexpensive pens, basic lanyards, lightweight tote bags) work for trade shows and community events where reach is more important than longevity. Mid-tier items (quality tumblers, notebooks) suit employee recognition and client thank-you gifts. Premium items (leather portfolios, brand-name outerwear, high-end tech accessories) are appropriate for executive gifting and long-term client relationships where the product itself signals the level of regard. Matching the quality tier to the recipient's expectations ensures the item is kept and valued.