

A print job is approved twice: once in the proof, and once in the specifications. The proof can look right while the finished piece still misses if the buying side cannot name the variables that control the cut, the paper, the surface, and final assembly. That gap is where preventable rework starts. This print buyer’s glossary gives you the working vocabulary to close it.
You will learn how bleed extends beyond the trim line, why trim and safe area cannot be reclaimed later, what stock weight and coating change on the finished piece, and how collate printing and finishing affect assembly. We also cover proof types, a practical proof check before you sign, and how to write a spec that earns comparable quotes. The goal is simple: when you approve a job, you can name what you are approving.
OneStop Northwest provides printing services as part of a single-source business solutions model that also covers branded merchandise, apparel, company stores, signage, websites, marketing, technology, IT, and fulfillment. With roots in Shelton and Mason County, we serve organizations across Western Washington, Washington State, the Pacific Northwest, and nationwide.
Why File and Specification Mistakes Reach the Press
File and specification mistakes reach the press through an approval gap. The person who signs the quote is rarely the person who built the file, and the proof is the only place they meet before a press runs. A proof can still hide trouble: color shifts on coated stock, a bleed that looks generous on a monitor leaves a white sliver when the cutter drifts, or a fold lands through a headline. In custom printing services, “It looked right on my screen” gets expensive because monitors glow, color profiles vary, and on-screen crop marks are not real crop marks. Every job carries four specification groups: size and bleed; stock; ink and coating; finishing and collation. This guide names each term, explains what it changes on the finished piece, and shows how to verify it on a proof. If you are evaluating ongoing commercial printing services, start by comparing how each vendor handles these details, not just price.
Bleed: The Extra Image Beyond the Cut Line
Bleed is the first spec to lock because it is the one the cutter can expose. It is artwork extended past the trim line so the cutting equipment has room to drift without revealing bare paper. On a poster printing job with a full-bleed background, a correct file and a tight file look identical under a perfect cut. Let the cutter run a fraction off, and the tight file shows a white sliver. That sliver is a reprint.
The trade convention is about one-eighth inch beyond trim on every side, though heavy stock, thick stacks, and specialty finishing can require more. Confirm the number with the printer instead of assuming it.
On a proof, find the crop marks and verify the background or image runs past them on all four sides. Watch for any element that stops exactly at trim.
Brief it precisely: “8.5 x 11 trim, one-eighth-inch bleed all sides, images at 300 dpi.” That gives a designer something to build against and two printers something comparable to quote. For a broader view of how these choices fit different print methods, see What Is Commercial Printing? A Plain-Language Guide for Buyers.
Trim, Safe Area, and the Margins You Cannot Reclaim
Bleed protects the cut. Trim size is what the piece measures after cutting, while flat size is the sheet before folding: an 11 x 17 sheet that folds down to 8.5 x 11 has both numbers, and both belong in the spec.
Safe area is the zone inside trim where text, logos, and anything that must survive the cutter should sit. A quarter inch from trim is common, but the right figure depends on the piece. A phone number set a sixteenth of an inch from the edge reads as a design flourish on screen and arrives crowded or clipped in the hand.
Binding consumes margin as well. A saddle-stitched booklet or a collated, stapled set has an inner gutter where pages disappear, so the inside margin has to be larger than the outside one.
On a proof, measure from the trim line and the fold line, not from the edge of the paper on a trimmed sample. For custom document printing, confirm allowances for punching, binding, or inserting before you sign.
Stock Weight: Basis Weight, Caliper, and GSM
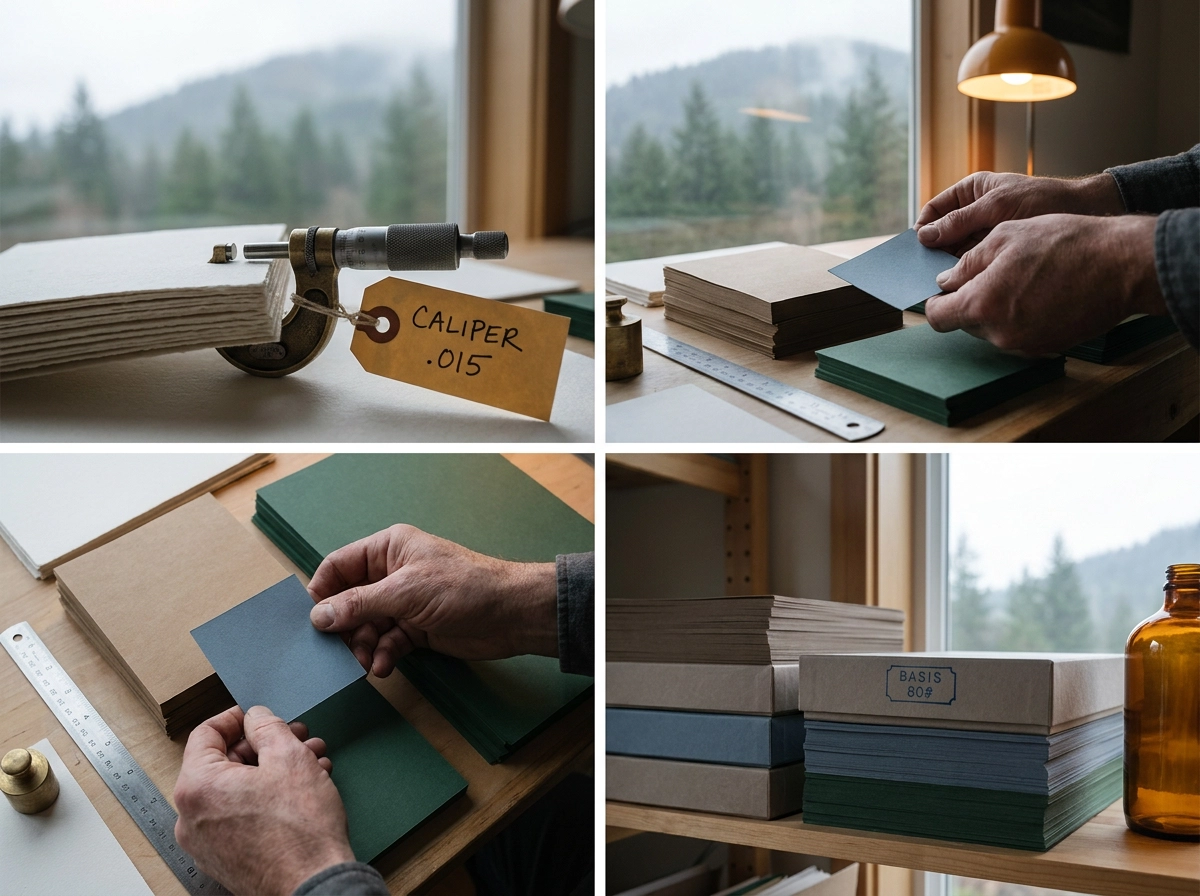
Margins settled, stock comes next. Two systems measure it, and they do not speak the same language. U.S. basis weight describes the weight of a ream cut from a specific parent sheet size, which varies by grade. Metric grammage, weight per unit area, applies one scale across grades.
The numbers are not comparable. A 100 lb text sheet is not heavier than an 80 lb cover sheet; the base sizes behind those figures differ, and treating them as a ranking is a common buyer error in printing services.
Caliper, in points or thousandths of an inch, is the thickness you feel. Same basis weight, different mill or finish, different bulk.
What it changes: heavier cover stock survives mail handling and repeated use as a folder or menu; a light text sheet lets two-sided color show through, ruining the back page.
How to check: ask for a paper dummy or sample book page, not a screen mockup. Brief grade, weight, finish, and whether an equivalent substitution is acceptable.

Coating: What Seals the Ink and What It Costs You
Stock sets the feel; coating seals the ink and changes how the sheet wears. Aqueous coating is a water-based sealer in matte or gloss, dries quickly, resists scuffing, and is typically the most economical protection for custom document printing. UV coating cures under ultraviolet light for a hard, high-gloss surface; spot UV limits that gloss to selected areas, so it is a design choice as much as durability. Laminate bonds film to the sheet for the highest durability and added thickness and hand-feel, but it can make the sheet unwritable and complicates recycling. Coated sheets resist fingerprints and moisture, yet they can crack along a fold unless scored first, and any coating may shift perceived color against an uncoated sheet. Proofing is the weak point: many digital proofs do not represent coating at all. Ask what the proof was printed on and request a finished sample or coating dummy whenever sheen and texture matter. Because coating options vary by production method, commercial printing formats explained can help match the process to the piece.
Collate Printing: What Separate, Collated, and Assembled Actually Mean
Coating protects the printed surface; collation decides how the pieces reach the box. In collate printing, separate parts stay in individual stacks, collated sets gather one of each part in sequence, and assembled sets are joined or packed as a finished unit. That distinction matters for multi-part business forms, meeting packets, orientation folders, and any job where each recipient must receive a complete set. Collated sets arrive ready to staple, stuff, and hand out; uncollated stacks move the sorting work to whoever opens the box, where pages go out of order. Specify parts per set, sets per pad or book, gluing, stapling, wrapping, and packing. A useful brief reads: “500 sets, three parts per set, collated, glued along the top, boxed in hundreds.” “500 forms” is not a specification; every vendor will interpret it differently.
Finishing: Folds, Scores, and Bindings
Once collated sets are complete, finishing decides whether they fold, open, and hold together as intended. Letter, half, gate, and roll folds each require specific panel widths; a roll fold needs its inner panel slightly narrower so the piece closes flat. Heavy cover stock and coated sheets should be scored before folding, or they crack along the outside of the fold. Bindings follow their own rules: saddle stitch, perfect bound, spiral or coil, and simple staple differ in page-count limits and gutter allowance inside the spread. A folded poster printing job needs its fold placed on the artwork before it goes to press, and a bound book with pages added later may not divide evenly into signatures. Brief finishing with a fold diagram or physical mockup, page counts in multiples that suit the binding, and the trim size of the folded piece rather than only the flat sheet. Those details make quotes comparable and prevent a finished piece from failing at the fold.
Proofs: Digital, Hard Copy, and Contract
Once folds and binding are specified, decide how you will approve them before press. A digital or PDF proof is fast and inexpensive, and it is the right tool for checking copy, page order, spelling, and layout. Treat it as a text and layout check, not a color reference. A hard copy proof, printed on the specified stock or a close match, shows stock color, ink laydown, and fold behavior far better than any screen.
A contract proof is the version you formally approve. It becomes the reference if a question arises about the delivered run, so know which proof you are signing and what it represents. Request the proof the job deserves: hard copy on specified stock when brand color accuracy matters; digital when copy is the only open question.
No proof shows exact press color outside a contract proof, final trim drift across a stack, or how a coating feels in hand.
How to Check a Proof Before You Sign It
Whichever proof level you requested, the sign-off follows the same order.
Check trim and flat size against the approved specification, not a similar past job.
Trace the bleed: locate the crop marks, confirm the background or image extends past all four sides, and verify nothing critical sits outside the safe area.
Read the proof ticket or quote beside the proof. Stock grade, weight, finish, ink, and coating should match line for line.
If the piece folds, binds, or mails, route the proof to the people who perform those steps. A folder operator catches a fold through a headline that a flat screen conceals. The same review logic applies to outdoor business signs, where substrate and mounting choices need input from the crew installing them.
Raise questions in writing before approval, not after delivery. Then keep the signed proof and its specification together, so the next reprint starts from a purchase order instead of a new conversation.
How to Write a Spec That Earns Comparable Quotes
Once a proof passes review, lock the decisions into a reusable spec sheet for the job: trim and flat size, bleed and safe margin, stock grade, weight and finish, ink, coating, finishing, collation, quantity, packaging, and delivery terms. Allow “or approved equivalent” on stock so vendors can quote without stalling on a mill shortage, but require written approval before any substitution. Send every vendor the same sheet and ask each to list exclusions, because proofing, dies, plates, shrink wrapping, and freight are where identical specs produce different quotes. File the approved spec with the signed proof; the next reprint becomes a purchase order, not a new project. A single-source partner can carry that specification across custom printing services, signage, apparel, and company store programs. If you also manage uniforms, our corporate apparel buying guide for HR and operations leaders covers vendor evaluation and program structure. OneStop Northwest, based in Shelton, supports organizations across Western Washington, the Pacific Northwest, and nationwide, with a national supplier network and low or no minimums on many items.

The Vocabulary You Are Actually Approving
You have the spec sheet; now approve the eight terms on it: trim, bleed, safe area, stock, coating, collation, finishing, and proof type. Each changes what comes off press, so name them before the job runs.
When color, texture, or durability is part of the decision, request a proof on the stock you are buying. A screen cannot show sheen, show-through, or fold cracking. Keep the approved spec and signed proof together; the next reprint should be a purchase order, not a conversation about what the last run was.
If managing that vocabulary across several vendors is the real cost, a partner who carries one specification from print to signage to apparel is worth a conversation. OneStop Northwest works across printing, signage, apparel, and company stores, so the same vocabulary can stay with one partner, including when ordering promotional products with your logo and building a managed corporate apparel program.
Conclusion
The terms in this glossary are not abstract trivia. They are the instructions that determine what comes off press: bleed and safe area define the image, stock and coating define the feel, and collation and finishing define how the piece arrives. Two habits protect every job. Approve the eight terms on your spec sheet before the run, and keep the approved spec and signed proof together so the next reprint is a purchase order, not a conversation about what the last run was. When managing that vocabulary across several vendors becomes the real cost, a single-source partner is worth the conversation. OneStop Northwest works across printing, signage, apparel, and company stores, based in Shelton and serving Western Washington, the Pacific Northwest, and organizations nationwide. Start with one spec, one proof, and one partner, then let the vocabulary stay consistent from the first press check to the final reprint.
Frequently Asked Questions
Why does bleed matter if the cutter usually lands on the trim line?
Bleed is artwork extended past the trim line so the cutting equipment has room to drift without revealing bare paper. A correct file and a tight file look identical under a perfect cut, but if the cutter runs a fraction off, the tight file shows a white sliver, which is a reprint. The trade convention is about one-eighth inch beyond trim on every side, though heavy stock, thick stacks, and specialty finishing can require more, so confirm the number with the printer.
What is the difference between trim size, flat size, and safe area?
Trim size is what the piece measures after cutting, while flat size is the sheet before folding. For example, an 11 x 17 sheet that folds down to 8.5 x 11 has both numbers, and both belong in the spec. Safe area is the zone inside trim where text, logos, and anything that must survive the cutter should sit. A quarter inch from trim is common, but the right figure depends on the piece.
Can I compare stock weights directly, such as a 100 lb text sheet against an 80 lb cover sheet?
No. U.S. basis weight describes the weight of a ream cut from a specific parent sheet size, which varies by grade, while metric grammage applies one scale across grades. A 100 lb text sheet is not heavier than an 80 lb cover sheet because the base sizes behind those figures differ. Caliper, the thickness you feel, is a separate measure, and sheets with the same basis weight can differ in bulk depending on mill or finish.
How do coating options affect a printed piece?
Aqueous coating is a water-based sealer in matte or gloss that dries quickly, resists scuffing, and is typically the most economical protection. UV coating cures under ultraviolet light for a hard, high-gloss surface, and spot UV limits that gloss to selected areas. Laminate offers the highest durability and added thickness but can make the sheet unwritable and complicates recycling. Coated sheets can crack along a fold unless scored first, and any coating may shift perceived color against an uncoated sheet.
What does collation mean, and why should I specify it?
In collate printing, separate parts stay in individual stacks, collated sets gather one of each part in sequence, and assembled sets are joined or packed as a finished unit. Collated sets arrive ready to staple, stuff, and hand out, while uncollated stacks move the sorting work to whoever opens the box. A useful brief states parts per set, sets per pad or book, gluing, stapling, wrapping, and packing, such as "500 sets, three parts per set, collated, glued along the top, boxed in hundreds."